CMv3 & UI
Build your Solana NFT project in less than 30 minutes

This project is meant for those with no prior expertise in Solana
for Linux or MacOS systems
using the devnet network for testing, change it to mainnet-Beta after testing everything.
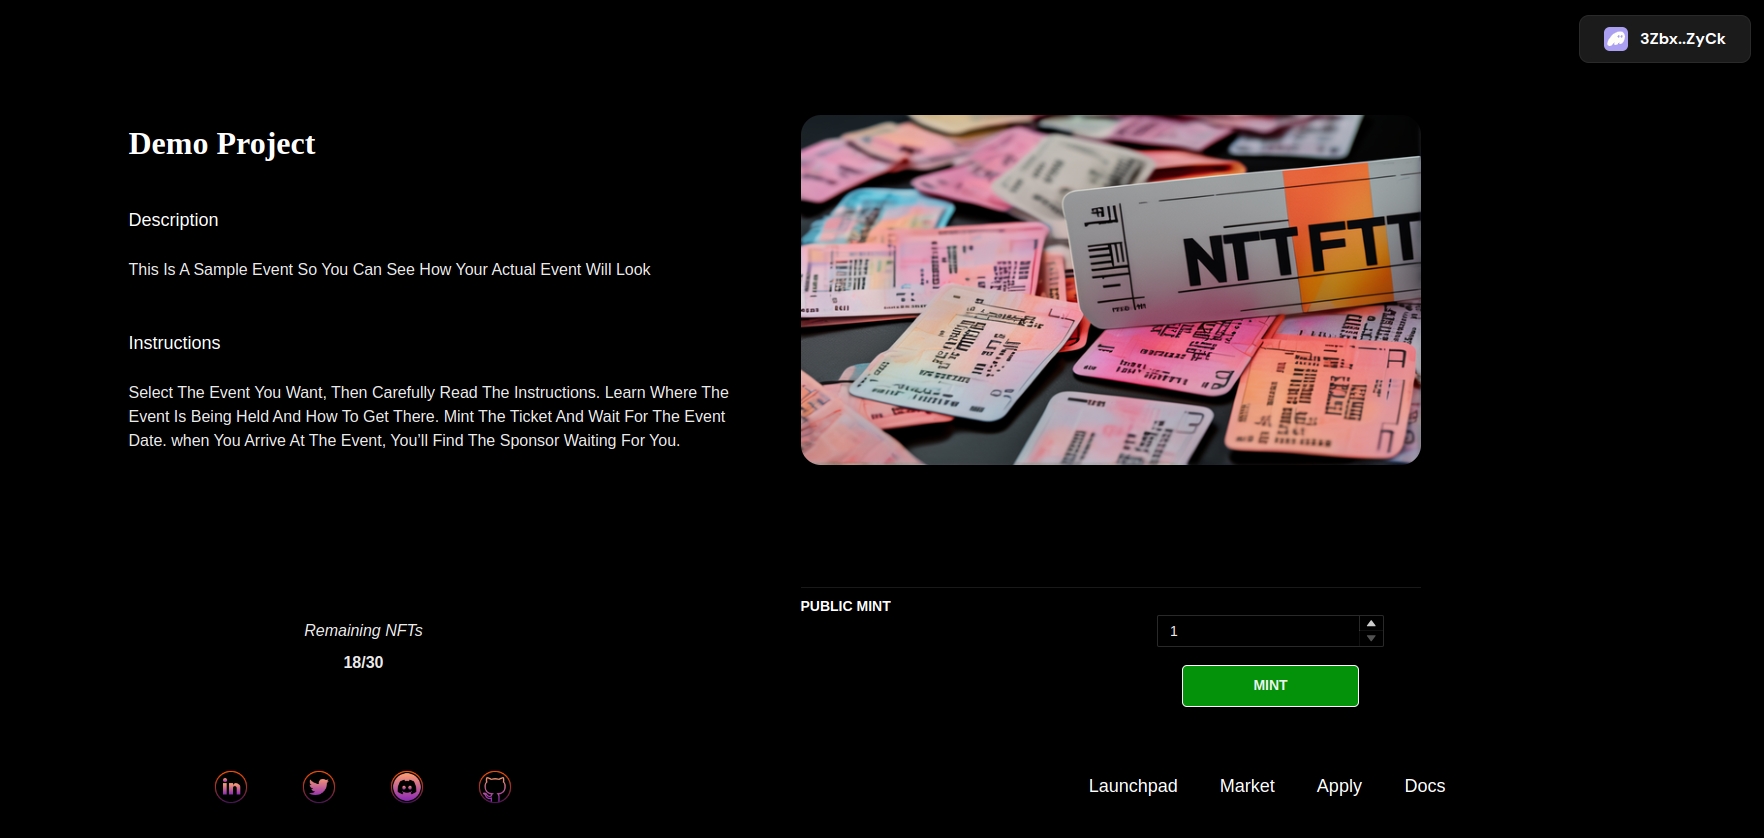
Try the project first to determine whether this is what you're searching for: Demo
What You Need?
Node.js installed (version 16.15 or higher)
https://nodejs.org/en/download/package-manager,
npm installed
https://www.npmjs.com/package/install
VSCode editor
https://code.visualstudio.com/download
Solana CLI installed
https://docs.solanalabs.com/cli/install
Sugar installed
Note: You may need to restart your terminal after installation
Phantom Wallet or Solflare extension installed
Getting Started
Clone Repo
it will open your project in VSCode
Create Candy Machine V3
Set Up a New Wallet
copy your wallet private key on the wallet.json file then import it to Phantom Wallet or Solflare extension, you will need to connect it to get NEXT_PUBLIC_LUT, Be careful! Keep it in a safe place. Then delete it from your files
confirm that the wallet you just generated is the wallet that the Solana CLI will use.
Connect to a Solana Cluster
Fund your wallet
or use the Solana faucet
update Config.json, assets.json, and collection.json files. to match your data, you can also use your image by replacing it but keeping the same filename.
Make sure to replace YOUR_WALLET_ADDRESS with the wallet address you created earlier in the config.json file
Use Suger to validate, upload, deploy, and verify your candy machine
import your candy machine ID in the .env.example file as NEXT_PUBLIC_CANDY_MACHINE_ID
change the .env.example file name to .env and enter your details.
Set Up a Minting Site
Open your browser at http://localhost:3000
Connect your wallet which you used to create the candy machine, You should see an initialize button, Click it and then click Create LUT, Copy the LUT address that you see in the success box and paste it into the .env file as the value for NEXT_PUBLIC_LUT
Add your candy machine groups to the settings.tsx file. Optional, E.g. if one of your groups is called WL you should have an entry for it in there
you can modify settings.tsx to change the texts and images.
create a GitHub account if you don't have one, and upload your files.
deploy your website on https://vercel.com, or https://netlify.com/ , or any hosting platform.
feel free to create an issue or a pull request
If you feel that it is difficult for you, you can Apply to launch and host it on our platform
Disclaimer!
This is not an official project by the Metaplex team. You can use that code at your own risk,
use it only for honest projects.
Happy Minting!
Resources
Original UI code , Original CM installation guide
Mixed and redesigned by SOLNM team
Last updated